Back
Saasly CRM
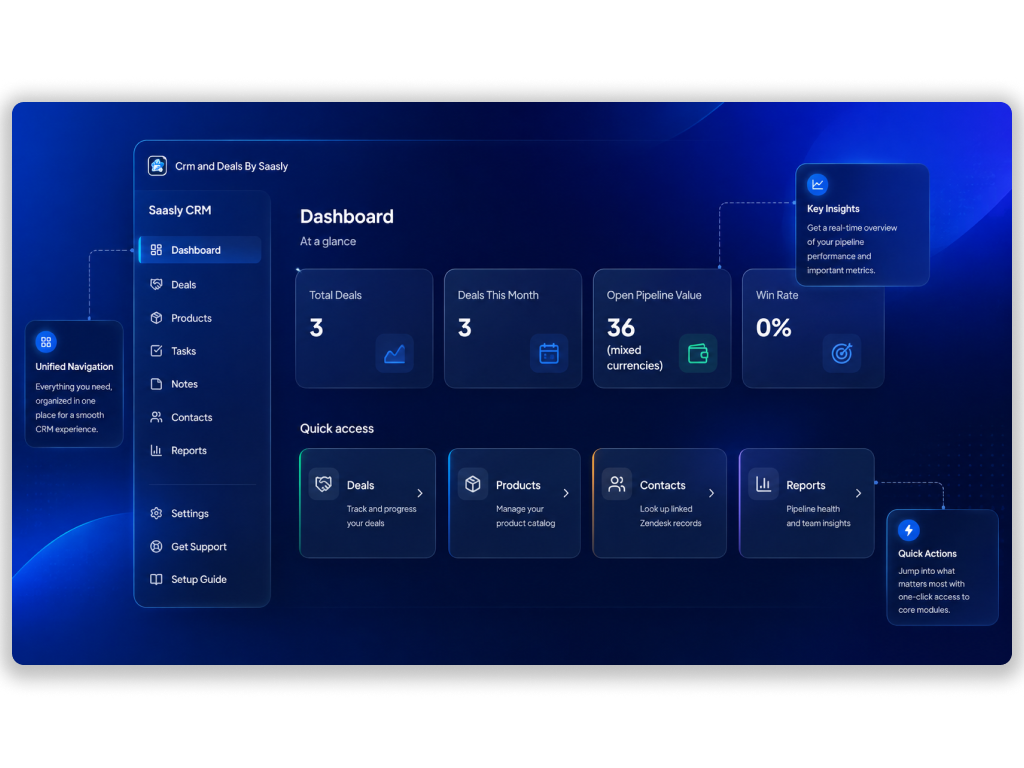
Add Deal and Product management directly inside Zendesk, linked to your existing Contacts, Companies, and Tickets.
PAID
Visit to InstallVerified App
Installation Guide
Follow these steps to configure CRM and Deals in Zendesk.
1. Install the App
- Install CRM and Deals from the Zendesk Marketplace.
- Your Zendesk subdomain and organization identity are detected automatically — nothing to configure for this step.
- Open the app from the Zendesk nav bar to begin setup.
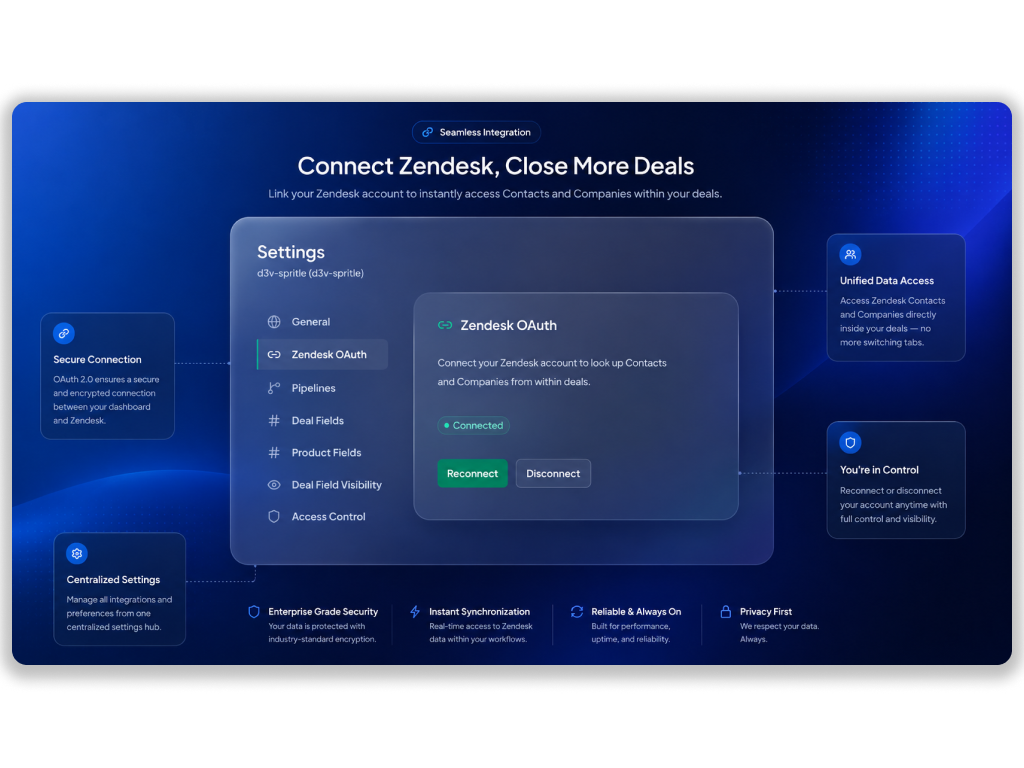
2. Connect Zendesk OAuth
- Open Settings > Zendesk OAuth.
- Click Connect.
- Sign in and grant the requested permissions.
- Wait until the connection status shows Connected.
Connecting Zendesk OAuth is required to look up Contacts and Companies from within Deals, and to confirm your subscription plan.
3. Configure General Settings
- Open Settings > General.
- Set your currency, timezone, date, and number formats.
4. Set Up Pipelines and Stages
- Open Settings > Pipelines.
- Add pipelines and stages, with colors and an optional "rotten after" expiry period.
Free plan accounts get one fixed pipeline (New, In Progress, Won, Lost). Upgrade to Pro to add and customize pipelines and stages.
5. Configure Custom Fields
- Open Settings > Deal Fields or Settings > Product Fields.
- Add the custom fields your team needs.
Free plan accounts can add up to 2 custom fields per module. Upgrade to Pro for unlimited custom fields.
6. Set Up Access Control
- Open Settings > Access Control.
- Assign Admin, Member, or custom roles per module.
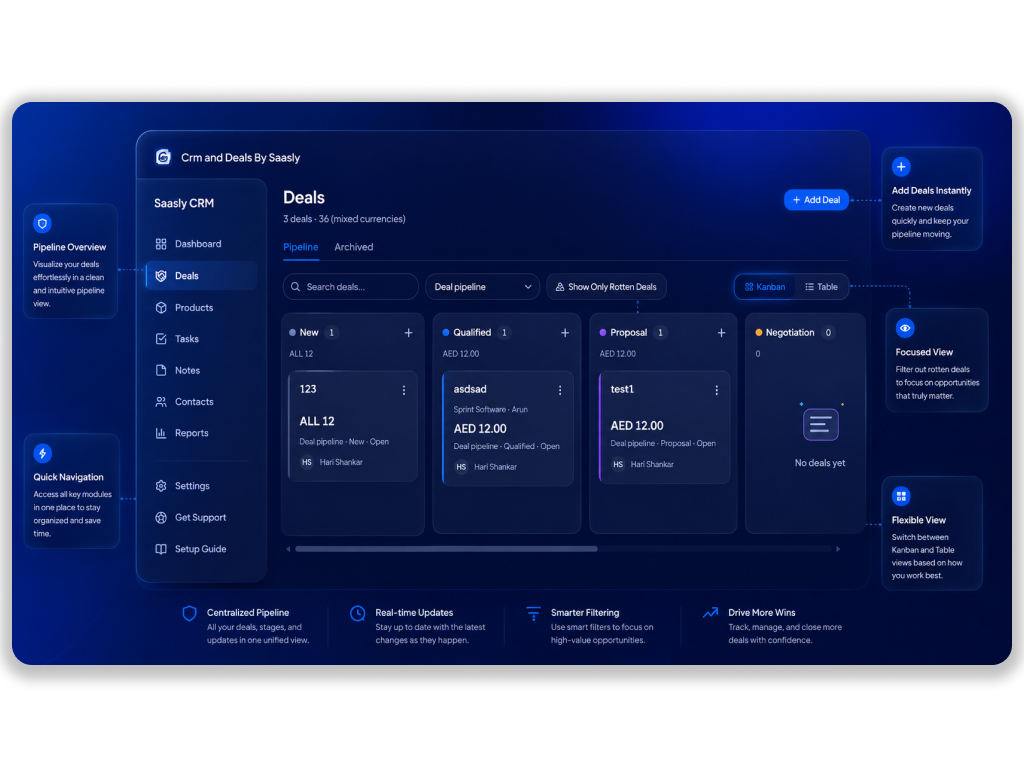
7. Create Your First Deal
- Open Deals.
- Click Add Deal, fill in the core fields, and link an existing Zendesk Contact or Company.
- Drag the Deal across pipeline stages in Kanban view, or edit it directly in Table view.
- Attach Tasks and Notes as follow-ups come up.
8. View Reports
- Open Reports.
- Filter by Group, Agent, Reporting period, and/or Pipeline.
- Export as CSV or PDF.
App Screenshots: