Back
Auto Timer
Get the exact time spent on tickets & changes by the agent with the help of the Auto Timer app.

Verified App
How to Install?
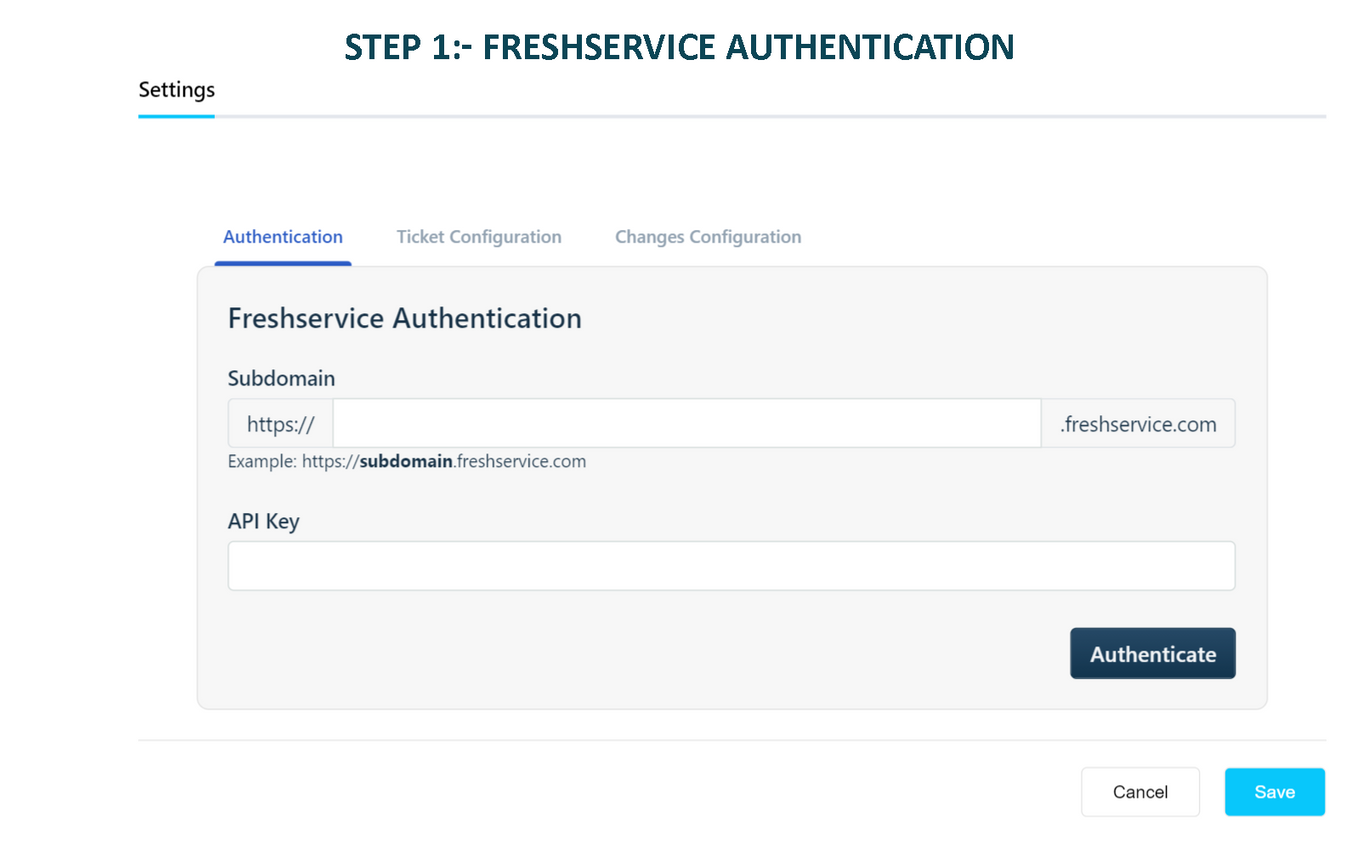
Authentication:-
In the Authentication tab, Enter your Freshservice API key and Sub-domain (e.g. www.example.freshservice.com, here example will be the sub-domain) and click Authenticate. Please refer to the below article to get Freshservice API Key.
https://support.freshservice.com/support/solutions/articles/50000000306-where-do-i-find-my-api-key-
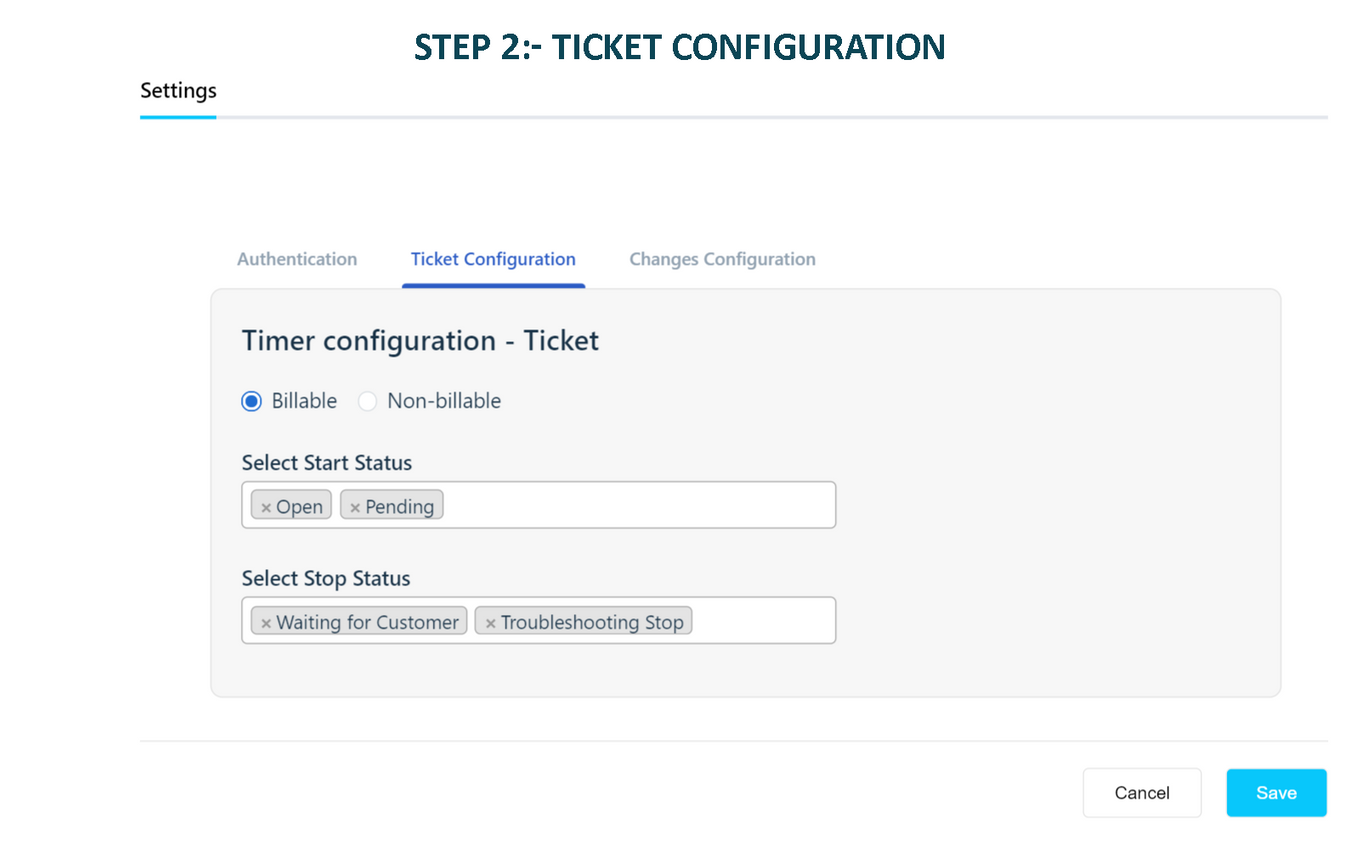
Ticket Configuration:-
-
Choose the start statuses for which the timer should start.
-
Choose the stop statuses for which the timer should stop (Note: Timer will be stopped automatically for the status - Closed and Resolved).
-
Choose Billable or Non-billable. The time entries will be created as billable or non-billable as per this option.
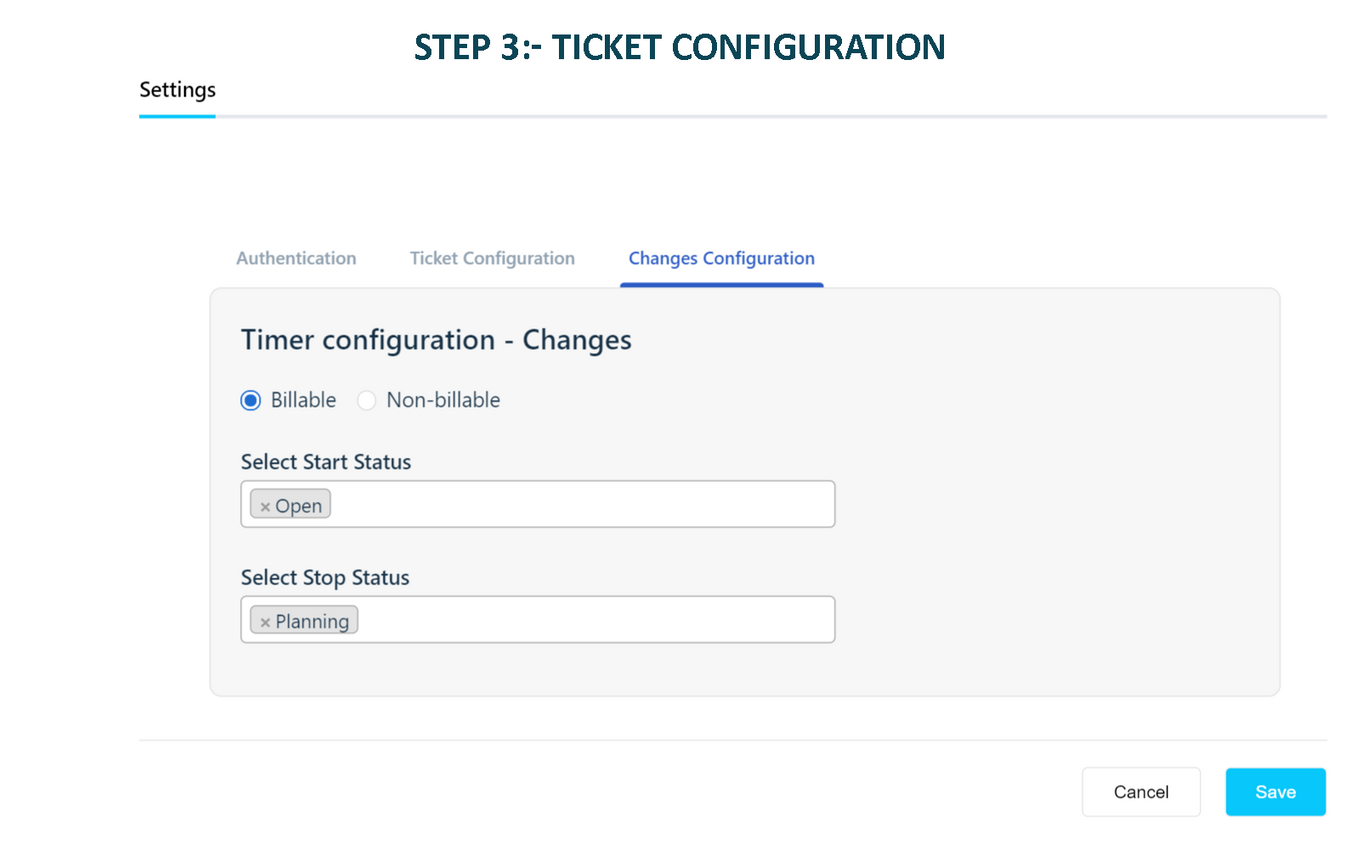
Changes Configuration:-
-
Choose the start statuses for which the timer should start.
-
Choose the stop statuses for which the timer should stop.
-
Choose Billable or Non-billable. The time entries will be created as billable or non-billable as per this option.
-
Once configured, click Install/Save and you're good to go.
-
Once the timer starts, it will be stopped only when the ticket/change status is changed to any of the stop statuses (configured in the setting).
Limitation:-
Freshservice has limitations on request API calls for the apps. An app can make only 50 API calls per minute. So when the request API limit is breached, the app will not stop/start the timer.